6 String
Ebony Fretboard
Spanish Cedar Body Core
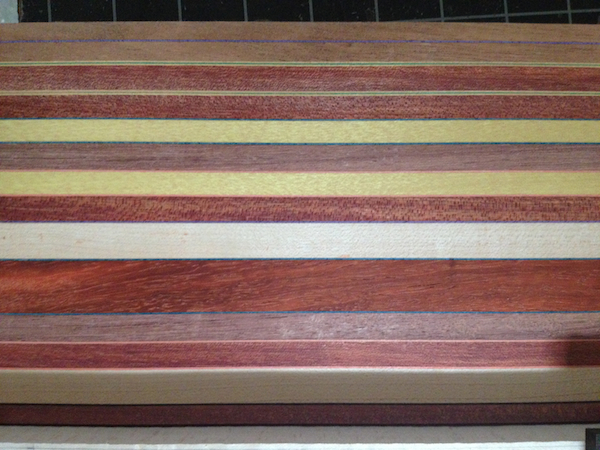
Padauk/Maple/Yellowheart/Purpleheart/Mahogany/Bloodwood “Rainbow” Top
Birdseye Maple/Purpleheart Neck Through
Hipshot Single String Bridges
Hipshot Tuners
Bartolini Pickups and Mike Pope Preamp
All Black Hardware
November 20, 2012
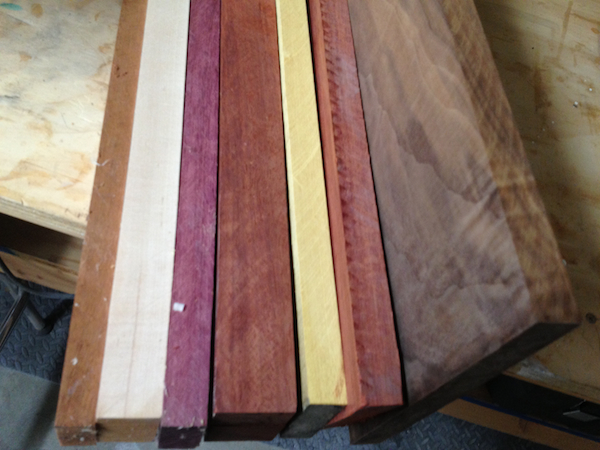
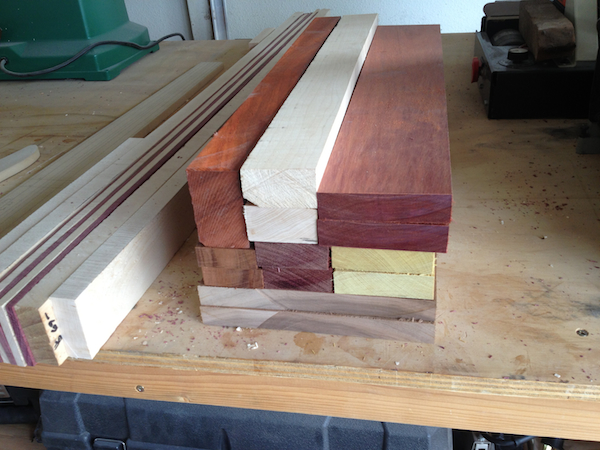
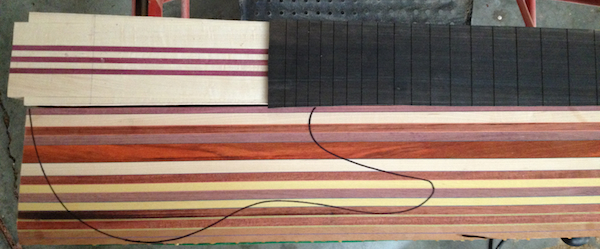
Most of the wood has been purchased for the bass. I just need to find the ebony fretboard and get a few of the colored veneers. From left to right: Mahogany, Maple, Purpleheart, Padauk, Yellowheart, Bloodwood and Spanish Cedar.
November 28, 2012
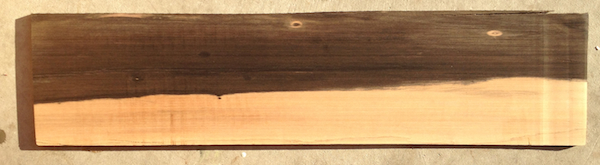
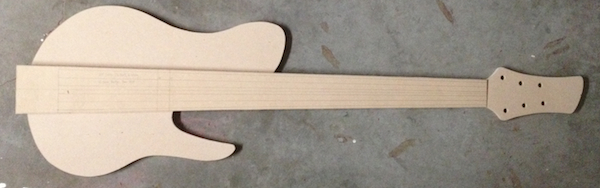
I was able to get a piece of ebony large enough for the fretboard, though only the black portion will be used on this one. I also cut out the body, neck and headstock templates.
November 29, 2012
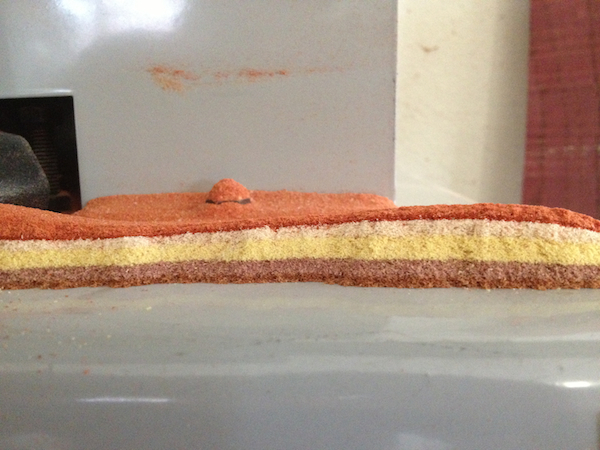
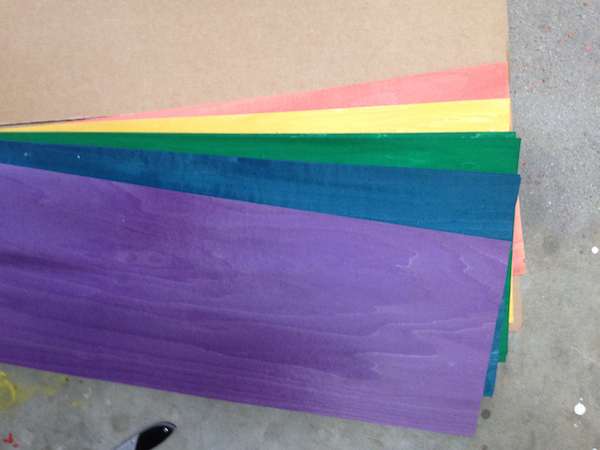
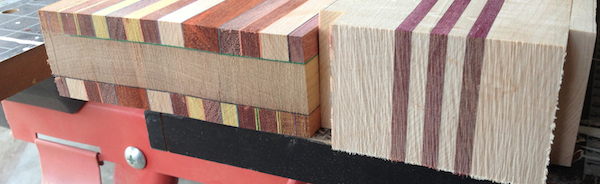
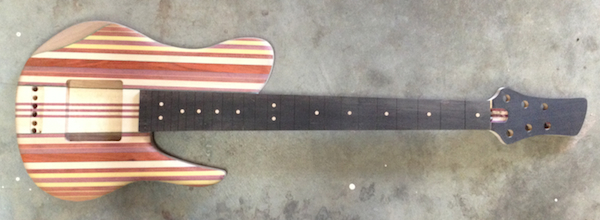
Today was the first real productive day of working on the bass. I was able to cut out all the rainbow stripes for the body as well as the neck. It is going to be such a colorful bass between the different woods and dyed veneers (as you can tell from the sawdust/veneer photos). The last photo is a rough mock up of what the body would look like.
December 5, 2012
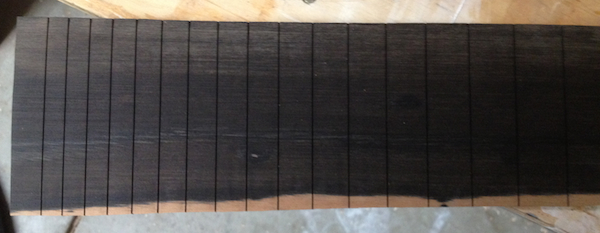
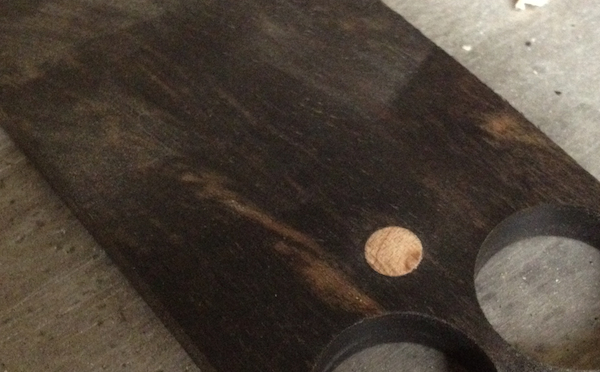
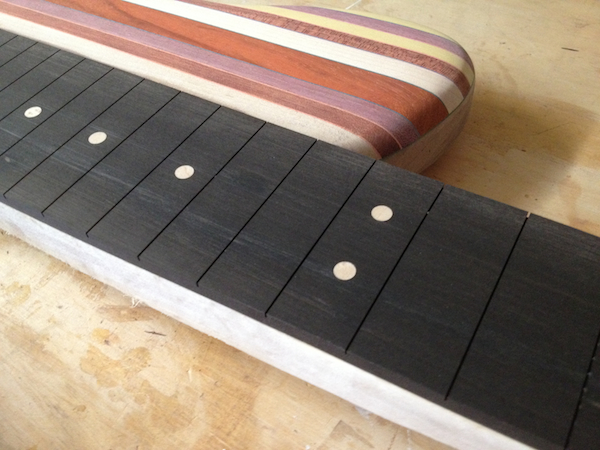
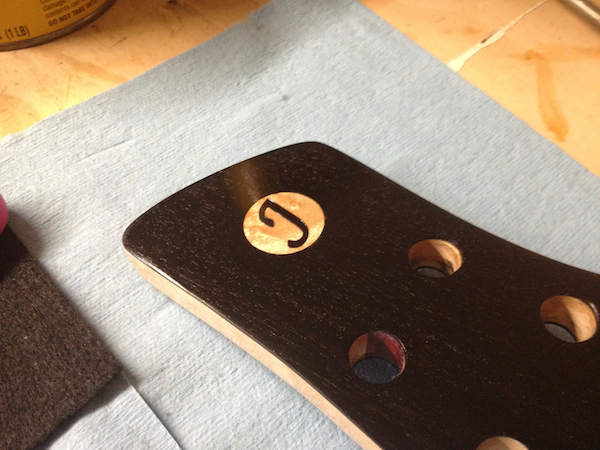
Since the last update, I’ve glued up the neck laminate, planed it down and rough cut its shape. I’ve also glued one of the rainbow sides that will ultimately be cut in half to sandwich the spanish cedar core. Lastly, I cut out the fretboard, fret slots and birdseye maple dot markers. The last photo is of a test dot marker in a piece of ebony.

December 8, 2012
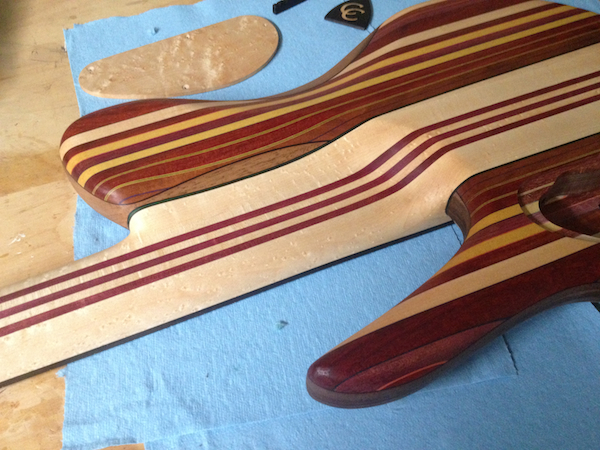
Both of the rainbow pieces have been made and planed down.

December 12, 2012
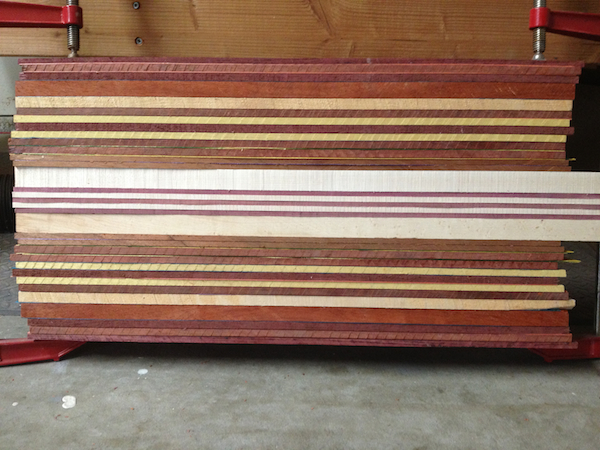
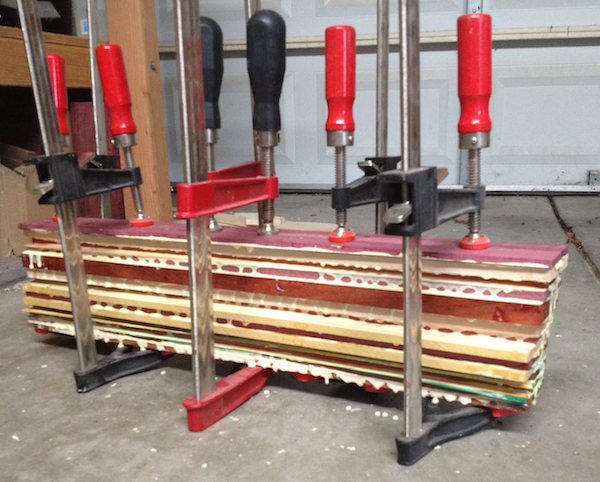
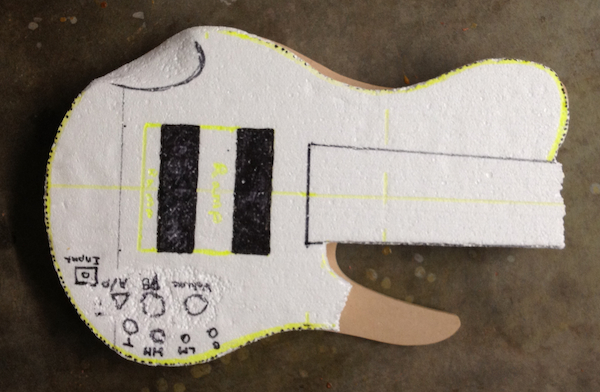
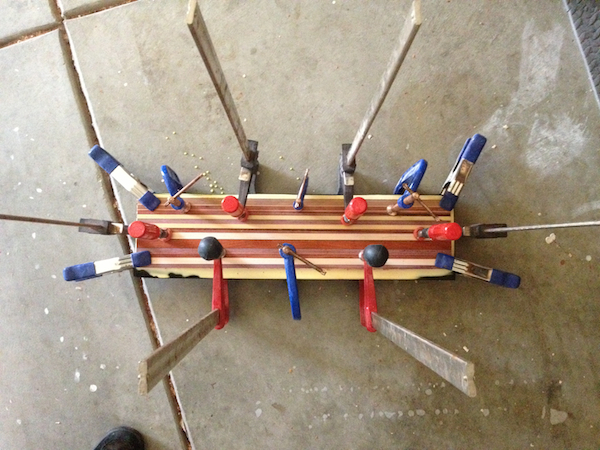
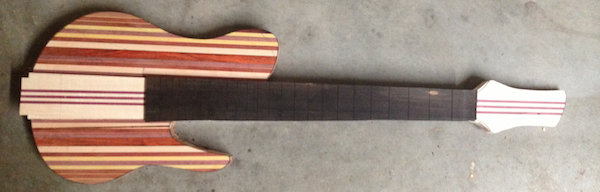
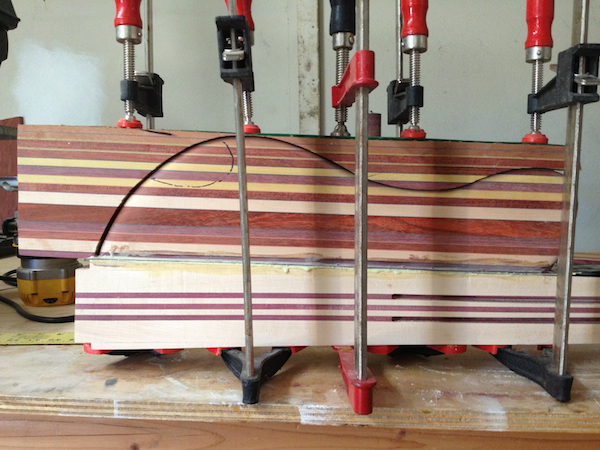
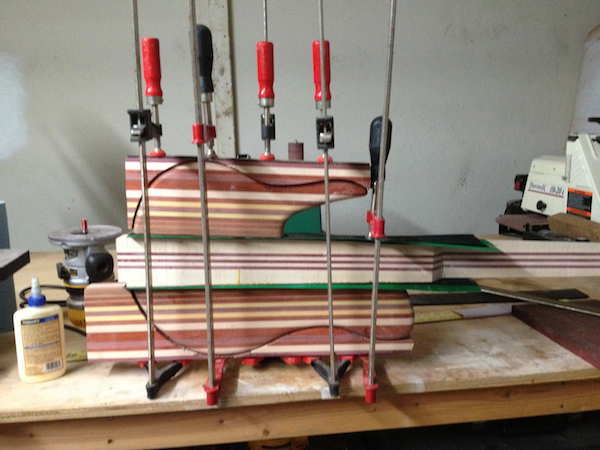
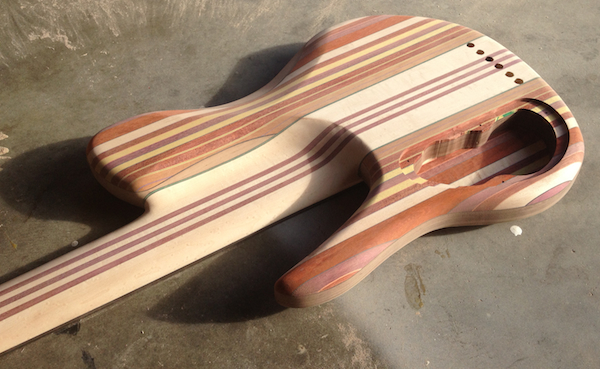
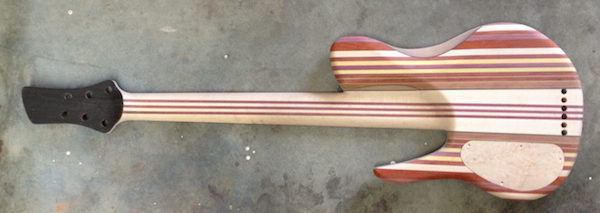
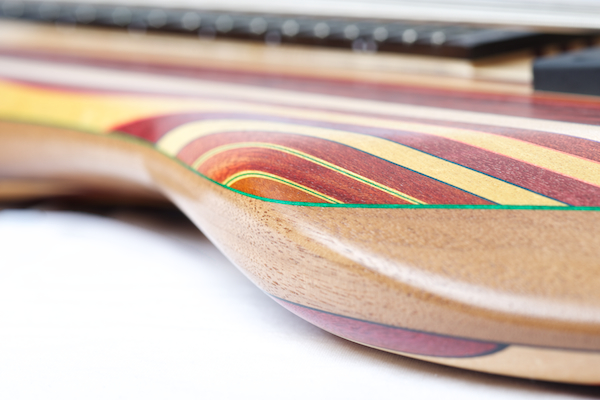
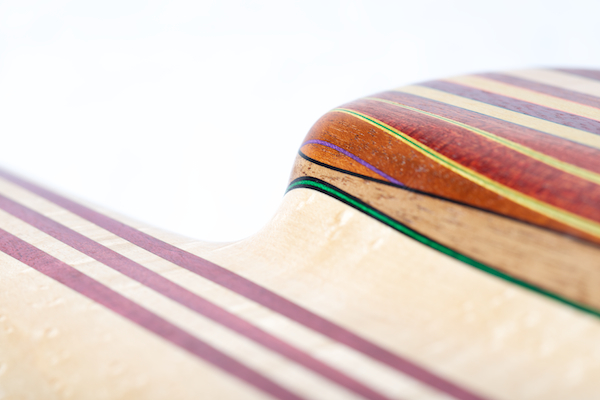
I received a styrofoam template from my customer so that I can match the body contours how he would like. One of the rainbow sides has been bookmatched, planed down and glued up with the spanish cedar/veneers. The other side is still drying. I love the side profile of the bass, it’s going to look crazy once the edges are rounded over and body contours are cut!
December 15, 2012
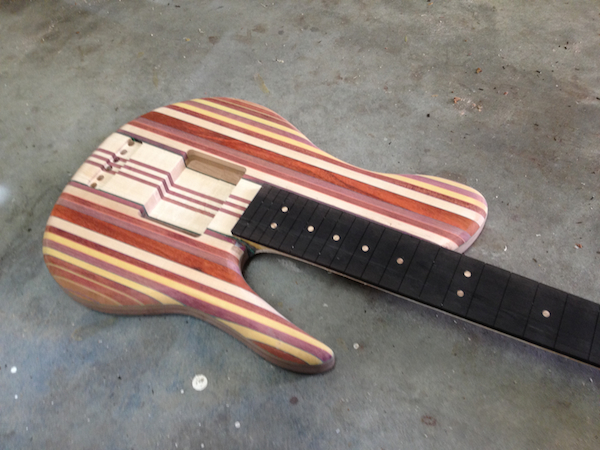
Body wings have been cut out and rounded over. I didn’t take a photo of it, but the neck has been trimmed to its final dimensions and truss rod slots routed.
December 18, 2012
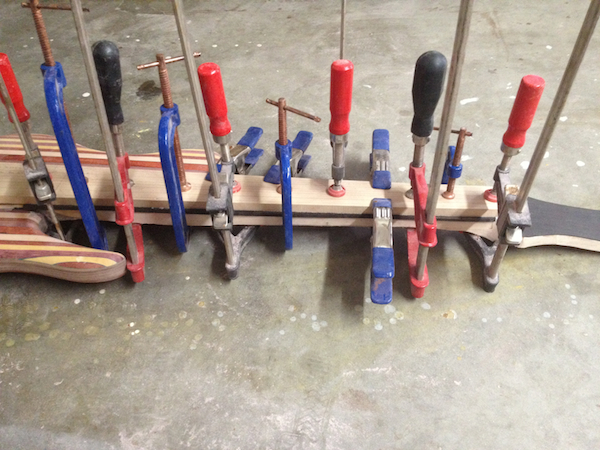
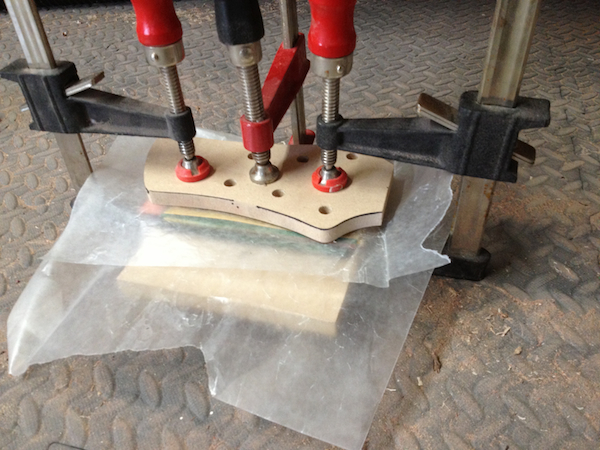
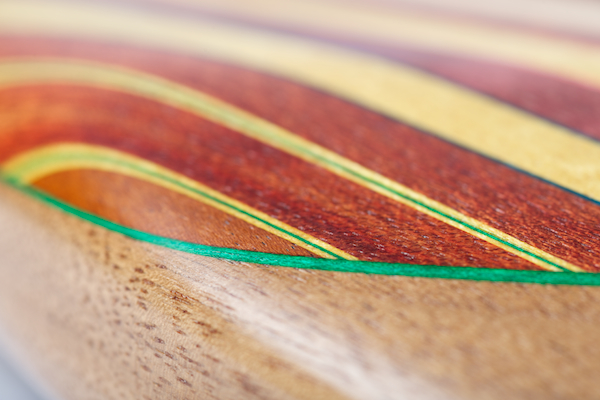
Gluing the top wing to the neck with a black/green/black veneer.
December 26, 2012
During the holiday I was able to glue up the lower wing and start smoothing everything out for pickup/control cavities.
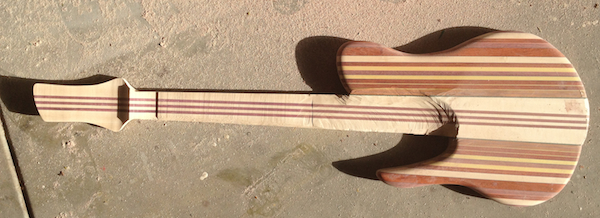
December 27, 2012
Ebony headstock veneer is glued on and now the fretboard is being glued on.
December 31, 2012
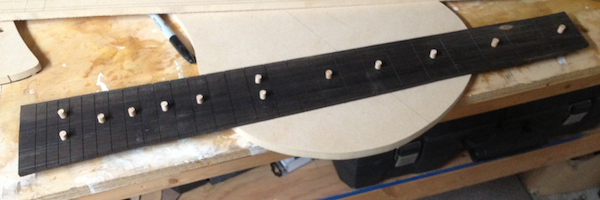
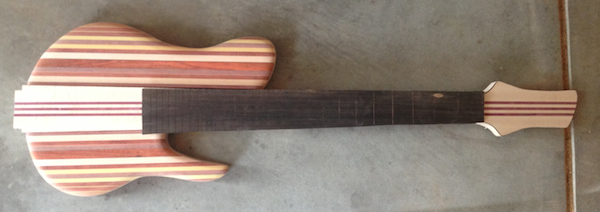
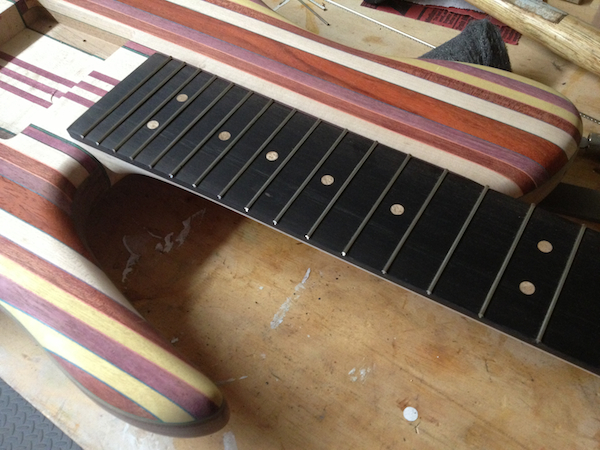
Birdseye maple fretboard dots have been installed, tuner holes drilled and I’ve started rough shaping the neck/heel. I love how the Spanish Cedar core is going to show through on the heel transition.
January 1, 2013
Happy New Year!
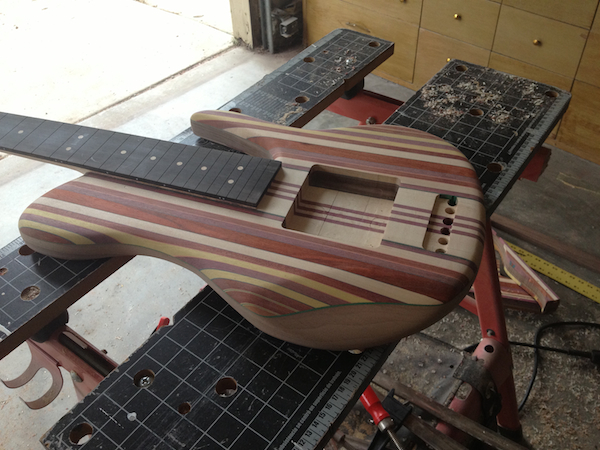
I was able to get the bridge and pickup cavities routed today.
January 3, 2013
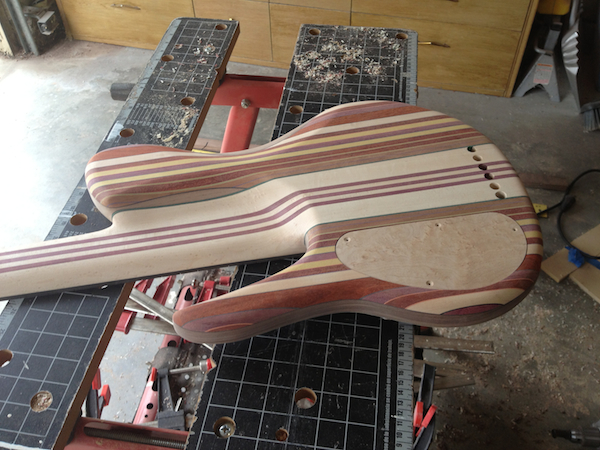
A lot more progress made between the control cavity/birdseye maple cover and various shaping/sanding of the neck and contours. It’s getting there.
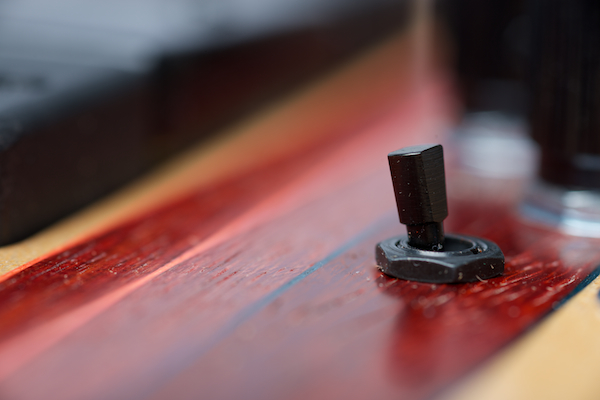
January 5, 2013
I extended the pickup cavity towards the bridge to space out the pickups more and have a larger ramp between them. Then I carved the arm contour, drilled the output jack hole, glued up the ebony headstock veneer on the back, sanded, sanded, sanded, etc.
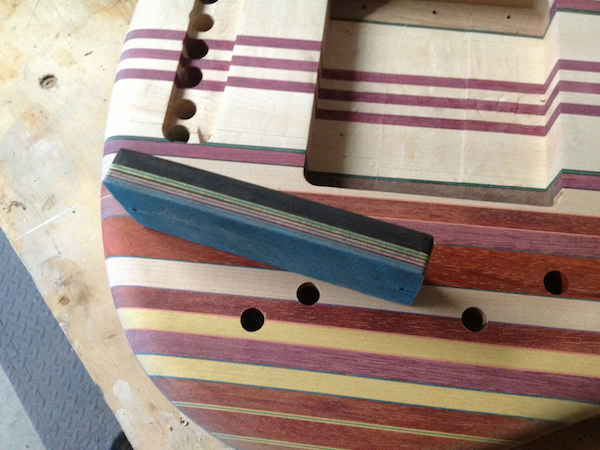
January 6, 2013
More sanding, drilling of holes for various wires, back headstock veneer shaping and stamping “JC1221” on the back of the headstock. The last photo is of the pickup ramp being glued. It is an ebony top with about 10 layers of the colored veneers that will show through when the height is adjusted.
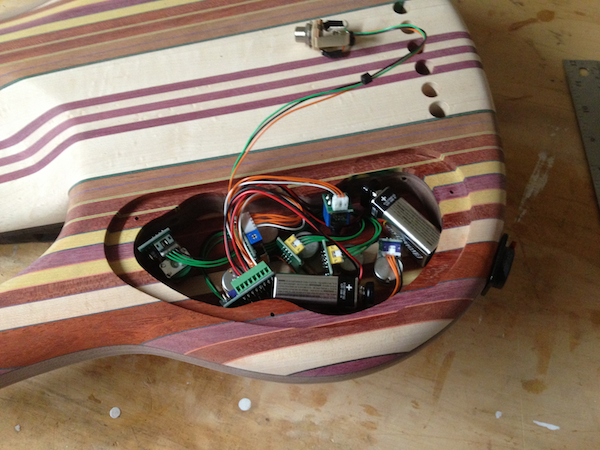
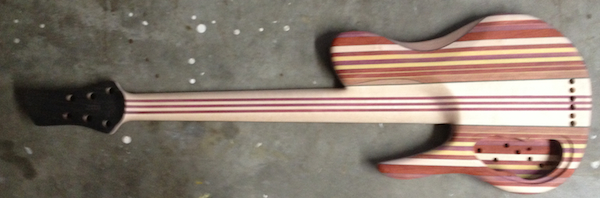
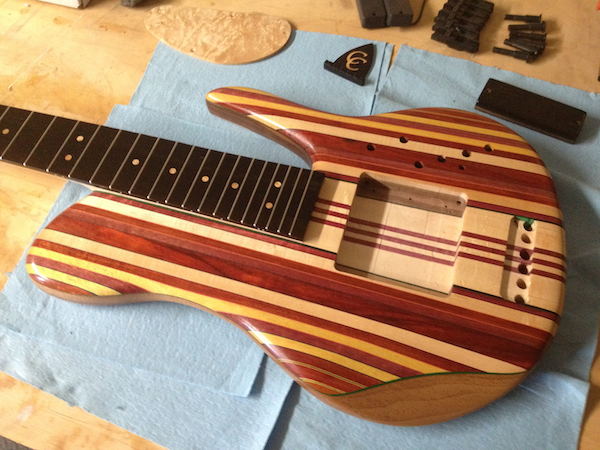
January 10, 2013
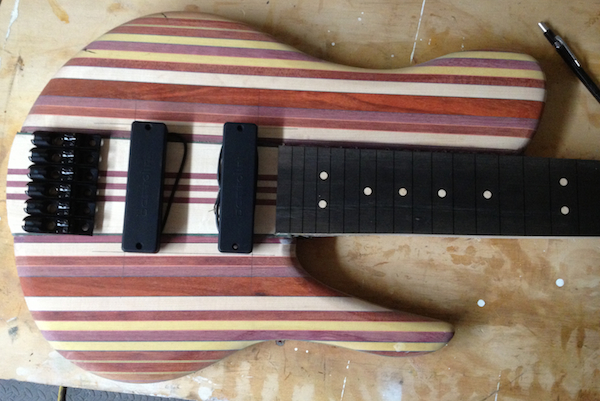
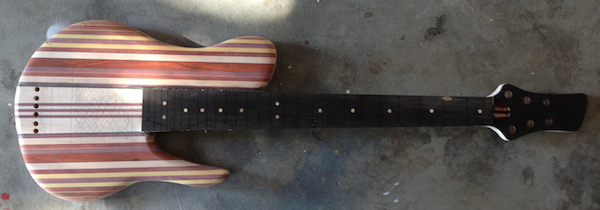
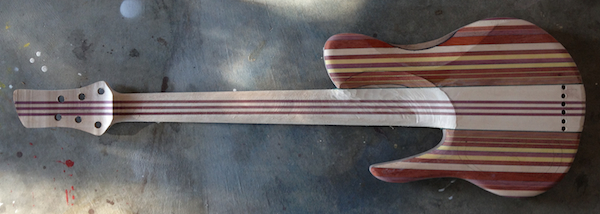
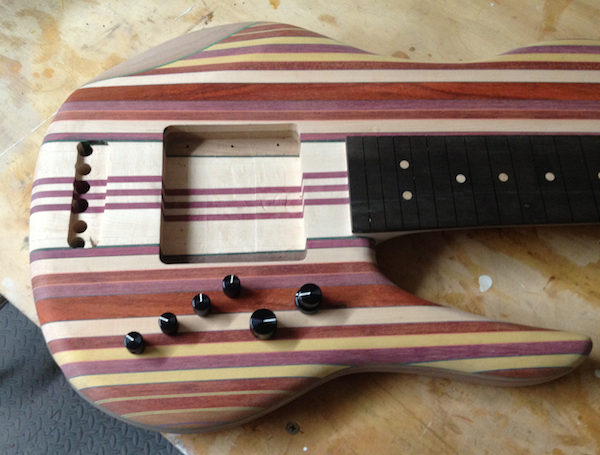
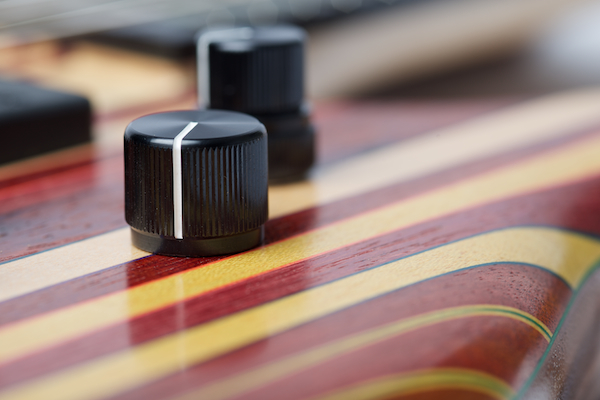
After a lot of careful planning, I was able to get all of the electronics into the control cavity and also have the knob layout match what the customer wanted. The next photo is of what the ramp will look like with the various veneers showing. Last is just the front and back after sanding, still a lot more sanding to go and bit of ebony stain touch up on the fretboard to make it more uniformly black.

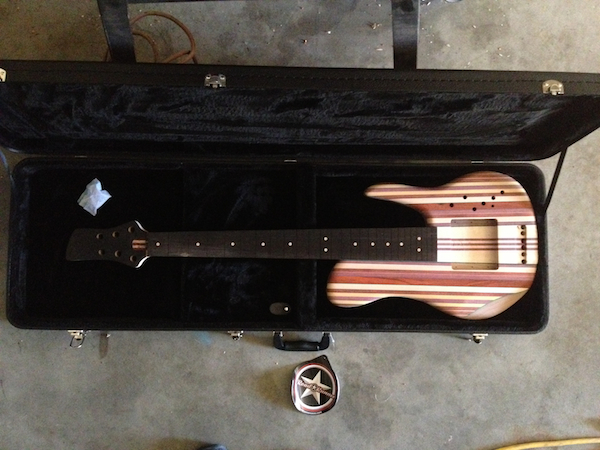
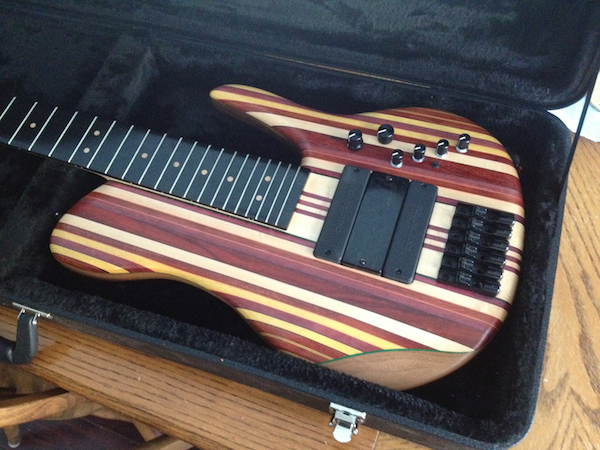
January 21, 2013
I was able to get a hard case for the bass, perfect fit. Also, frets are in and being filed down now. Just waiting on my inlay source for the headstock inlay and truss rod cover inlay. Then it’s oil/wax time.
January 26, 2013
I’ve got a lot of work ahead of me with all these parts!

January 28, 2013
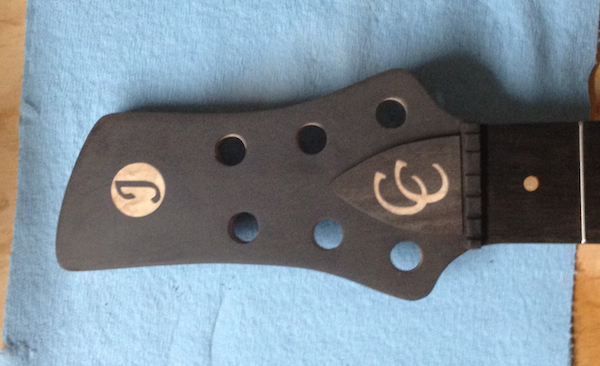
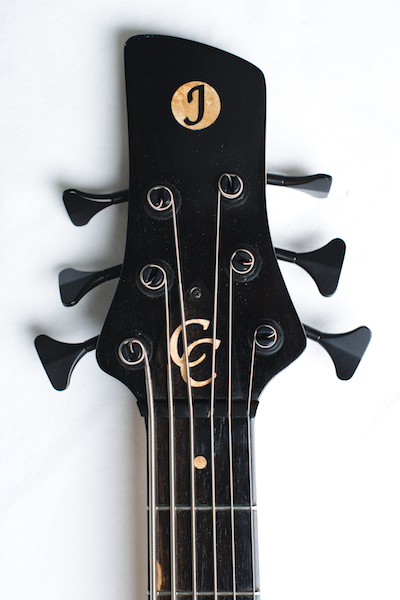
I got the inlays in the mail today and was able to get them in. I am hoping to get it sanded all the way over the next week and get the finish going!
January 29, 2013
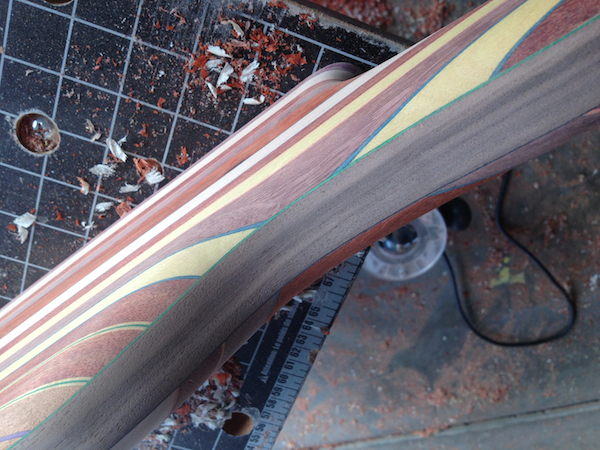
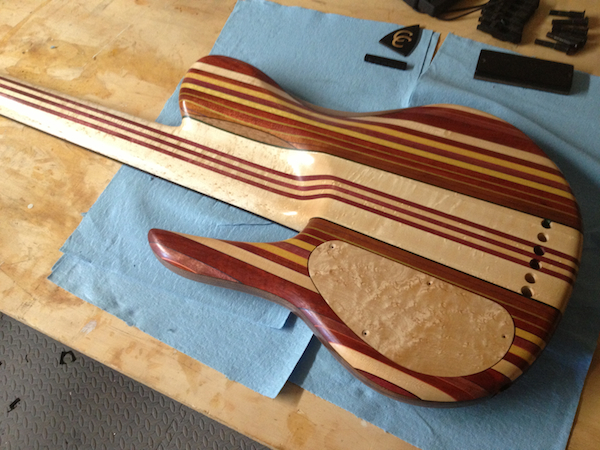
All done sanding and the first coat (of many) of oil is on. I love watching the colors darken and the grain come to life.
February 3, 2013
Oil, oil, oil and more oil. I am almost done with the oil coats, then I’ll let it fully cure and apply a few coats of protective wax.
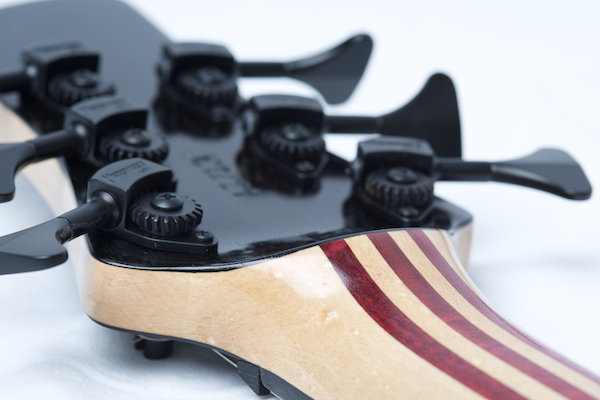
February 10, 2013
I’ve started the final assembly of all the parts. I’ll be taking it in to get the electronics done soon.
February 27, 2013
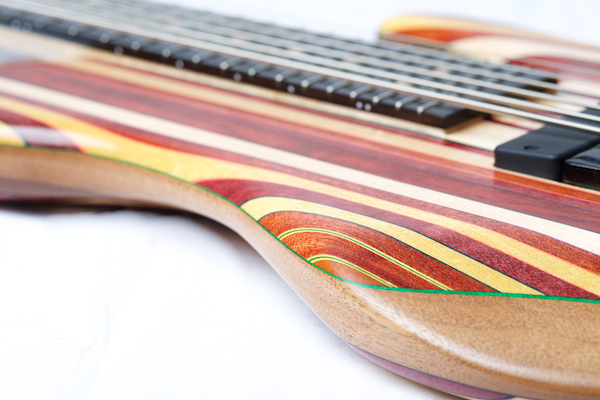
It’s done!!! Low action, close string spacing, small frets… chords and tapping are a dream on this bass. The Mike Pope preamp sounds amazing and is so versatile. I’ll be shipping it out pretty soon and let my customer make the sound clips/videos.

Just for fun…